Whether you're new to quilting or have never sewn anything before, this short guide will get you ready to sew and press your first quilt top!
Before you begin, make sure that you know how to use your sewing machine, and cut your fabric for your quilt.
The quilt pattern you're working with should tell you what pieces to cut, and how to assemble them together. (If you haven't chosen a quilt pattern yet, I'd recommend my Simple Stripes Quilt for beginners!)
Most pattern will say "sew and press" when telling you how to put pieces together, and this tutorial is meant to get into the nitty-gritty of what this means when you're working on a quilt top!

Does your fabric have a right and wrong side?
Certain fabrics, especially fabrics with a printed design, have a "right" and "wrong" side. The right side is the colorful, pretty, printed side of the fabric. You want this to end up facing the outside of your quilt. The wrong side is the duller, more grey, or unprinted side - you want this to be the side that ends up on the inside of your quilt.
Not every fabric has "sides." If you can't tell the sides apart by eye, or if you're working with a solid-colored quilting cotton, it's most likely that your fabric doesn't have right and wrong sides. That means you don't need to worry about which side ends up on the outside of your quilt.

Line up and pin your pieces.
Once you've cut your pieces, line them up right sides together (RST). Pin them into place. For the long strips I'm sewing for the Simple Stripes Quilt, I used a pin ever 6 inches or so.

Sew with a 1/4 inch seam allowance.
You will want to sew so your stitches are 1/4" away from the edge of your fabric. This space is called the "seam allowance."
When you begin sewing, place your fabric under the presser foot and line it up. There should be a marking on most machines showing where 1/4" from the needle is. And some presser feet are designed to line up to that 1/4" mark. (If you're not sure how to line up your fabric to a 1/4" seam allowance, test it out by sewing some scraps and measuring the distance between the stitches and fabric edge.)
A quarter inch is the default seam allowance for quilts. Your pattern should mention this somewhere, usually in the pattern notes. If it doesn't, you can confidently assume that seam allowance is a quarter inch.

Remove pins and sew your seam.
I think it's worth mentioning that you don't want to sew over pins! Pause and remove them before they go under your presser foot.
If you accidentally hit a pin with your needle, this will often break the needle and/ or send the tip flying - ask me how I know!

Set the seam.
The first step to pressing is to just take the fabric, as sewn, and press it with a hot iron. This is called "setting the seam" and it helps prevent warping down the line.

Open up your fabric.
Lay your fabric on your ironing board and open it up, lifting up the top piece. Using your fingers, hold this fabric open.

Press with a hot iron.
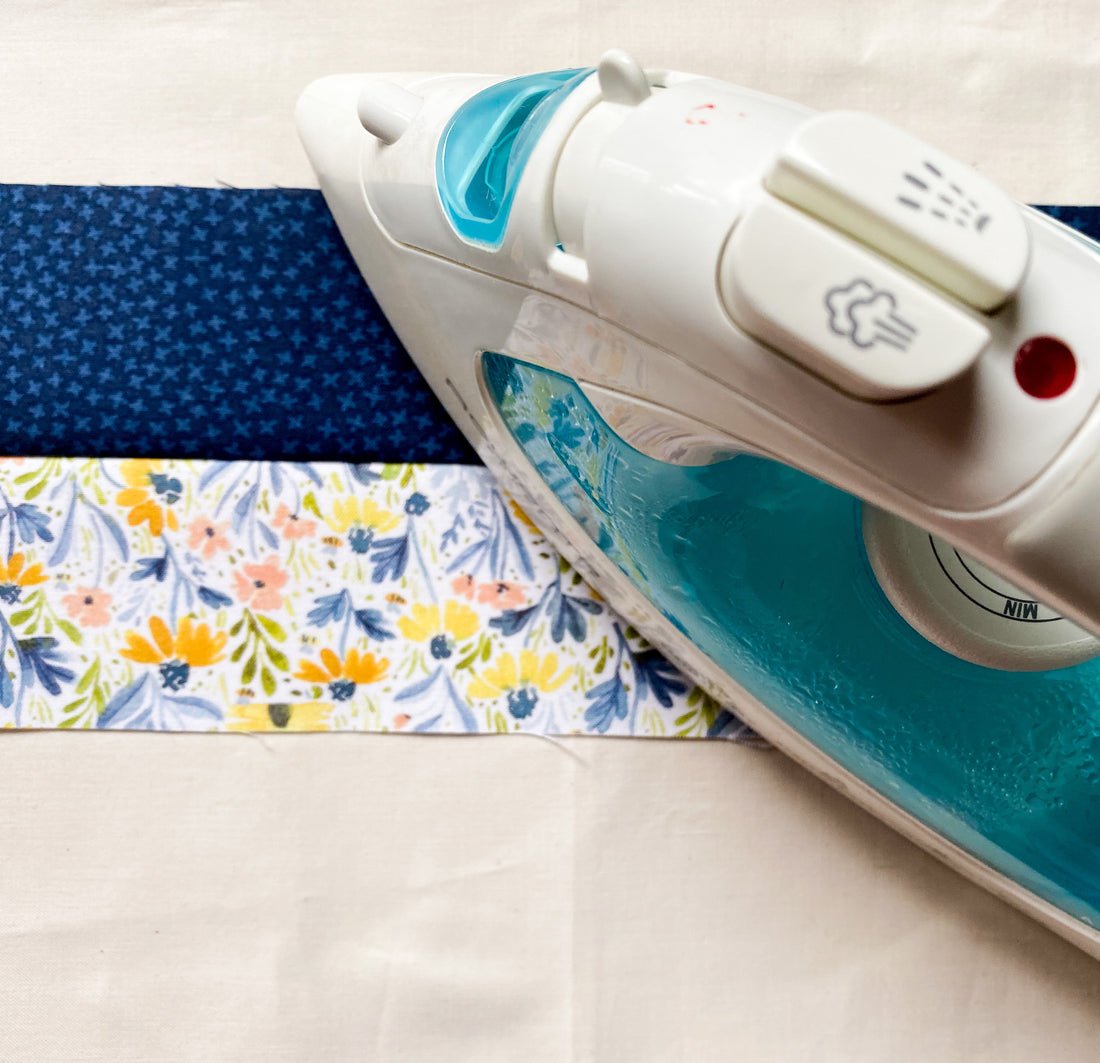
Use a hot iron (without steam) to press. Pressing is a little different than ironing. Instead of moving the iron back and forth to smooth your fabric, set it down upon the seam for a few seconds. Then pick up the iron, move it to the next spot, and repeat.
Ironing, with all its pulling and tugging, can distort pieces in your quilt. Pressing is much gentler on the fibers, but just as effective in getting your seams crisp!

Flip and press again.
Turn your fabric over and press your seam from the reverse side.
At this point, if your pattern instructions say to "press to one side," you're done!

Pressing Open
If your pattern says to press open, wait for your fabric to cool to the touch. Use your fingers to open up the seam, as shown in the picture above. Then place the iron onto your open seam to press again.
Some patterns don't specify which way to press, in which case it's up to you. Either way is okay! I like pressing to one side because it keeps my seams nice and strong. Some folks like pressing open because it creates less bulk around the seam line.

These are the sewing and pressing basics for patchwork! Now when you see the words "sew" and "press" in a pattern, you'll know exactly what to do.

