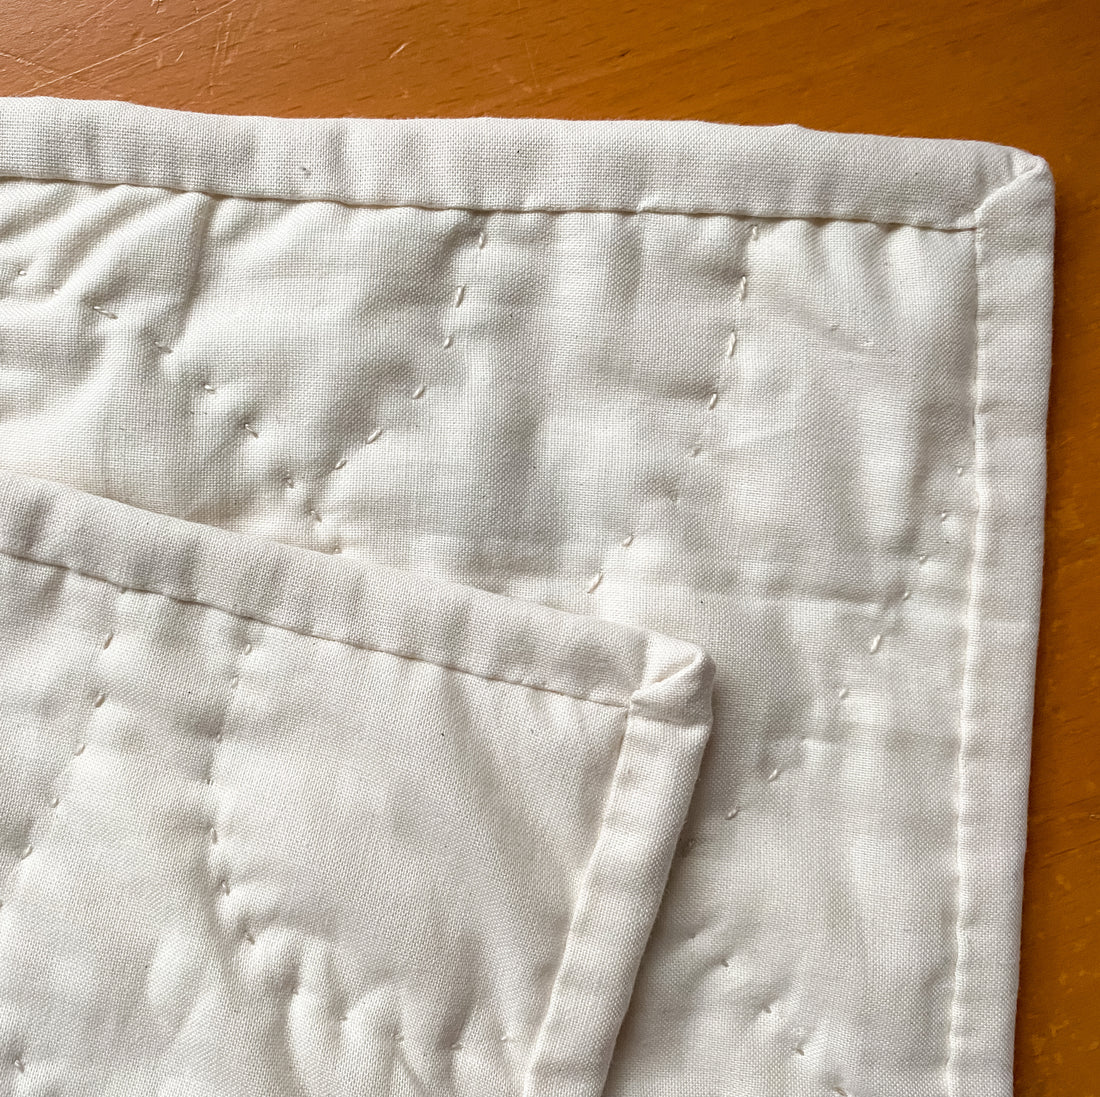
At this point in your quilt-making journey, you’ve finished quilting, and you’re ready to finish those edges with some binding!
I usually prefer machine binding, but the quiltiverse seems to agree that hand binding is the easiest method, especially for beginners. If this is your first quilt, you will probably want to hand bind it! And even experienced quilters often stick to hand-binding because of how clean the finish is. In this tutorial, I'll show you the process of hand binding, step by step.
The kind of binding we will use today is called double-fold binding because it gets folded once before attached to your quilt, then again when you go to sew the binding on.
We call the technique “hand binding” because one edge of the binding is machine-sewn to the front of your quilt, and then the other edge is hand sewn, with invisible stitches, to the back of your quilt.

Before you begin, you’ll want to trim any excess batting and backing off your quilt, and straighten up the edges. Use a long ruler and rotary cutter to square up.
Cut Your Double-Fold Binding Strips

Decide what width of binding you want. Usually, standard double-fold binding is cut at 2 1/2” wide. This is what I’d recommend if this is your first time binding this way. A narrow double-fold binding is cut at 2 1/4” wide. This is what I prefer to use, to create a skinner edge on my quilts.
If you’re working from a quilt pattern, it will tell you how many binding strips you need to cut.
If you’re not using a pattern, calculate the number of width of fabric (WOF) strips you need with the formula below. This formula assumes your WOF is 42". If the result not a round number, round up to the nearest whole number.
(quilt length + quilt width) x 2 / 38 = number of WOF strips required
Cut your required binding strips, 2 1/2” x WOF or 2 1/4” x WOF, depending on your preference.
Prepare Your Binding
Sew your binding strips together to make one long strip. You want to sew at a diagonal, to reduce bulk around the join.

To join your binding, place one strip right side up. Place another strip over it, right side down, at a 90-degree angle.
Sew a diagonal line, shown above, to create a join. Keep your stitch length low - I use 1.5 mm - to ensure that the seam is strong.
Repeat to join all of the binding pieces into one long strip.

Trim the excess fabric, and press the seam. I like to press this seam to one side, to ensure that it’s strong and stable.

Press your binding in half lengthwise, down the entire length of the binding.

Attach Binding to Quilt
As I show you how to machine-stitch the binding to the front of your quilt, you’ll hear me use the word back tacking. Back tacking is something you do when machine stitching, to lock your stitches in place. You simply sew forward 3-4 stitches, sew in reverse 3-4 stitches, and repeat 1-2 times. You’ll go over your stitches a few times before continuing to sew. We’ll use back tacking in this tutorial to make sure our stitches are strong and won’t unravel due to wear and tear.
For hand binding, I begin by attaching my binding to the front of my quilt. This allows me ultimately to do my final hand stitching on the back of the quilt.

Start with a straight edge of your quilt, quilt top-side-up. The middle of one side works well here — you want to start far away from any corners.
Line up your binding to the edge of the quilt. The raw edge of the binding should be lined up with the raw edge of your quilt. Leave a 6-8” tail of binding unattached.

Sew the binding to your quilt with a 1/4” seam, back tacking to start. I use my 1/4” presser foot, but you can also use your walking foot to ensure an even feed.

When you near the corner of your quilt, stop sewing 1/4” from the edge. Back tack to secure, and cut your threads.


Make a square corner by folding your binding away from your quilt at a 90-degree angle, then folding it back towards your quilt and matching it against the next side of your quilt. The two photos above show this folding process.

Pin the corner (optional), then continue sewing the binding on, 1/4” after the corner.

Continue to sew on your binding until you’re 8-10” away from where you first started sewing. Leave a long tail of binding, so it slightly overlaps the binding you left unattached. Back tack to secure.

Now, we join our binding tails. Line up the tails to the edge of the quilt again. At the halfway point between the two, fold the binding back so the two pieces jut up against each other. Mark this meeting point by either pressing a crease into the fabric, or marking with a pencil or pen.

Cut the binding 1/4” away from the mark you made. Be sure not to cut off the marking — you’ll want to cut 1/4” after the point you marked.

Pull the binding tails away from your quilt, unfold, and match them up right sides together. Sew a 1/4” seam to join the binding, using back tacking and a short stitch length to secure.

Press the seam open, fold your binding back up, and line up to the edge of your quilt.
Sew the remaining, unsecured binding down with a 1/4” seam.
Finish Hand Binding

To finish binding by hand, flip your quilt over, and fold your binding neatly over the edge of the quilt.
Pin or clip your binding in place. (I like using clips.)

Thread a needle and tie a double (or triple!) knot at the bottom. You want a knot that will stay firm and secure, and will not accidentally pull through your binding.
I started with my standard thin quilting thread (50 wt cotton), doubled over so I was stitching with two strands. But I quickly learned that it’s easier to hand bind with a slightly thicker thread, using just a single strand. I switched to 28 wt cotton thread from Aurifil for my thicker thread. I’d highly recommend that you try it. Who knows— maybe if I had always used this thicker thread for hand binding, I’d have preferred it to machine binding all along?!

Start by stitching into the edge of your quilt, without catching any of the binding, to bury the knot. Pull taught. This will eventually get enclosed within you binding.
Now we’ll do an invisible ladder stitch to join the binding to the front of the quilt.

Make a small stitch into the quilt top, not going all the way through the quilt.

Then make a small stitch into the binding, catching just the inner layer.
Basically, you’re alternately stitching into the quilt and binding. Complete a few stitches on each side.

The thread will look like a ladder, like this.

When you’ve made a few stitches, pull the thread taught and it will neatly join your binding to your quilt, with no stitches showing on the outside.

Keep going, working your way around the quilt. Eventually you’ll be able to hold your binding and quilt top snugly together, and pick up stitches on your needle just by rocking the needle back and forth. The more you bind, the better you’ll get.
When you get close to the end of your thread, simply make another knot and hide it within the edge of your quilt. You can simply tie your knot behind the binding, or you can bury your knot after the fact. Tie off and start with a new thread whenever needed.


At corners, carefully fold and miter your corners so they form crisp right angles. Clip into place, and continue to sew the binding on as usual.
When you’ve bound all of your quilt, tie a knot, bury it into the edge of your quilt, and snip any extra thread. You’re all done!


1 comment
So lovely. I was wondering why you didn’t attach the binding with the beginning and end strips with a diagonal seam as you did when attaching the binding strips together.